Solar systems consist of various components that should be selected based on the type of system, site location, and application. The main components of a solar system are solar panels, charge controllers, inverters, battery banks, and loads (appliances). Our guide explains how to size a solar system and connect the above components. From here, your DIY solar journey will be easy!
Workflow
Photovoltaic modules convert sunlight into direct current. A solar charge controller regulates the voltage and current from the PV panels to the batteries, preventing overcharging and extending battery life. The inverter converts the DC output from the PV panels into clean AC power for use in AC appliances. Batteries store electricity to provide power at night or when there is insufficient sunlight. Loads are appliances connected to the solar system, such as lights, radios, televisions, computers, refrigerators, etc.
Determine the power you need
How to determine the size of the solar system you need? Depending on the actual amount of demand and usage habits in different scenarios, you can determine your power requirements and thus choose the right size of the solar system. The following steps will show you in detail how to calculate your energy needs:
Option 1: Calculate the load
For solar systems in outdoor camping and caravanning, the main consideration is the power required for small appliances, lighting, and charging equipment. Also, consider storing energy for temporary power outages.
- List the appliances you want to run (lights, computers, fans, etc.) and how long they will run (hour).
- Check the power rating on the appliance's specification sheet.
- Calculate the watt-hour, which is the product of the power rating of the appliance and the time it will run (hour). If you are having trouble with the calculation, you can also use the solar watt-hour calculator.
Note that in a solar system, there may be 30% energy loss, total watt-hours per day ✖️ 1.3 =total watt-hours per day required by the PV modules.

Option 2: Electricity consumption of households
For residential solar systems, we use the annual average daily consumption (kWh) of your home, taking into account the way you use electricity and seasonal variations in solar cell production. You can estimate your daily energy consumption (total kWh ÷ 365) by looking at your electricity bill for the last year.
Finally, the solar energy you need: average daily consumption (kWh) ➗ average daily peak sunshine hours = the DC kilowatts of solar energy you need.
With an off-grid solar system, you need to know not only how much electricity the system will produce, but also how much energy should be stored in batteries for use when it is not producing electricity (e.g. at night and on dark days). Remember that if you go off-grid, you won't be able to buy some extra electricity from the grid when you need more, so you'll also need to calculate the load.
Sizing Solar Panels
To more accurately size solar panels, several factors need to be balanced:
- Installation space: space determines the maximum number of solar panels that can be installed. Often, the size and capacity of each solar panel are known, which can help you determine the maximum installed capacity.
- Orientation and angle: For roof-mounted systems, this depends on the orientation of the roof. Finding the best angle for solar panel installation
- System efficiency: There is no such thing as a 100% efficient solar system, the equipment consumes a small amount of power during operation and loses a small amount of power as it travels through the wires. These inefficiencies must be taken into account when estimating the output of the solar system. This is called derating (derating factors are usually 0.8).
- Budget: Consider your budget constraints. The cost of a solar system depends on the size and choice of components. Typically, the cost of a solar system increases with size. Find out about different solar financing options
PV Watts.
Visit PVWatts for a more accurate estimate based on the information we know above. By entering the details and adjusting for the above factors, the result will tell us what size a system is needed.
Sizing the Battery
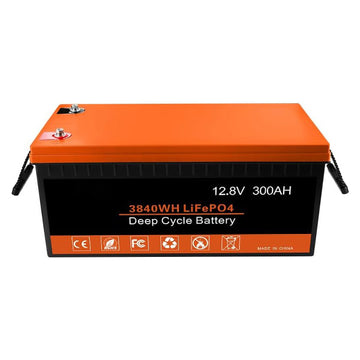
Solar panels can only produce DC power during the day, and designing the right energy storage system for an off-grid solar system is critical if you want to have enough power to run the loads you need for 24 hours. However, there are many different types of batteries, for example, a car battery (usually a starter battery) is designed to provide high current for short periods to start the engine and is not suitable for frequent deep discharge and charge cycles. To ensure a daily cycle of charging and discharging, it is recommended to use deep-cycle batteries in solar systems, which allow multiple cycles of charging and discharging over and over again. There are two common types of deep-cycle batteries on the market: lithium-ion and lead-acid.
Before we do this we calculate the amount of power (watt-hours) that the load will require per day, knowing that the battery capacity is measured in ampere-hours
Battery capacity (Ah) = load ➗ voltage
However the reality of batteries is not ideal, so losses must be taken into account. Assume a battery loss of 15% and divide by 0.6 to adjust the depth of discharge.
Therefore the required battery capacity (Ah) = load ➗ voltage ➗ 0.85 ➗ 0.6
Especially if you consider that the system will have to be maintained during some days when the solar panels are not producing electricity (autonomous days).
In this case, the battery capacity (Ah) = (total watt-hours per day ✖️ number of operating days) ➗ (0.85 ✖️ 0.6 ✖️ voltage)
Sizing the solar controller
Solar charge controllers, located between the solar panels and the batteries, are used to regulate the voltage and current from the solar panels to ensure that the batteries are charged within a safe range while improving charging efficiency. (Learn about types of solar chargers) To select the right charge controller, you need to consider the total power of the solar system and the voltage of the battery bank.
The solar charge controller should have a power rating greater than the maximum output of the solar PV panels to ensure that the controller can effectively manage the charging process. Its current rating should be able to handle the maximum current output in the system to ensure that the batteries are properly charged and to prevent overcharging.
Standard practice dictates that solar charge controllers should allow a 30% margin:
Solar charge controller rating = total short-circuit current of the PV array ✖️ 1.3
For example, if your PV array has a total short-circuit current of 10A, the solar charge controller is rated for a minimum of 10A x 1.3 = 13A.
Sizing the Inverter
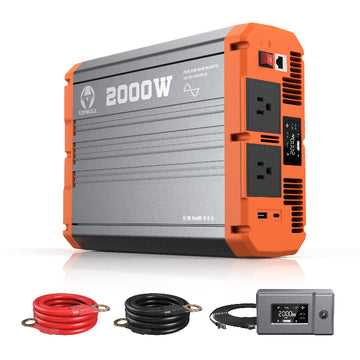
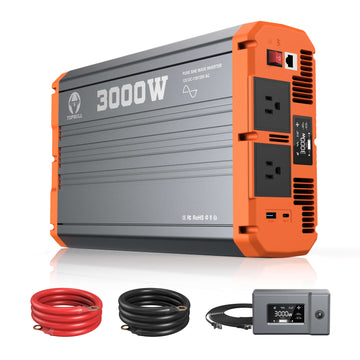
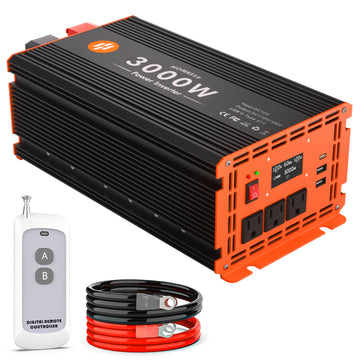
Inverters convert the direct current (DC) generated by solar panels into alternating current (AC) to power electrical appliances. Different types of inverters include grid-tied, off-grid, and hybrid inverters, each suitable for different applications. For grid-tied systems, the input power of the inverter should match the output power of the solar panels. For stand-alone systems, the inverter must be large enough, typically 25-30% larger than the total wattage of the appliances, and the nominal voltage must match the nominal voltage of the batteries. If the type of appliance is a motor or compressor, the inverter should be at least three times the capacity of these appliances, plus the inverter capacity to handle the surge current during starting.
Finally, appropriate circuit breakers, fuses, and protective devices are installed at the output of the inverter to ensure the safety of the system.
Selecting the Solar Cable
The current generated by the solar panel should reach the battery with minimum loss. Every cable has its ohmic resistance. According to Ohm's law, this resistance causes a voltage drop.
V = I x R (V is the voltage drop across the cable, R is the resistance, I is the current)
The resistance (R) of the cable depends on:
- The length of the cable: the longer the cable, the greater the resistance.
- The cross-sectional area of the cable: the larger the area, the lower the resistance.
- The material used: copper or aluminum. Copper has a lower resistance than aluminum.
In this application, it is best to use copper cables. By keeping the resistance of the cable as low as possible, voltage losses can be minimized.
To calculate the cable size, you can use the online calculator.
The following parameters must be entered:
- Solar panel operating voltage (Vmp)
- Solar panel operating current (Imp)
- Cable length from solar panel to battery
- Expected percentage of losses
The first two parameters (Vmp and Imp) can be found on the solar panel specification sheet. The cable length depends on your installation. The percentage loss for good design considerations is about 2%~3%.
Cables Size (Power Inverter/Battery )
Current (amps) = Power (watts) / Voltage (volts)
Refer to the table below to determine which size cable is best for your application:

Sizing of Fuses / Breakers
Fuses and circuit breakers are primarily used to protect system wiring from fire or damage in the event of a short circuit.
According to the NEC, DC fuses or circuit breakers can be sized using the following formula:
Circuit current rating = Short circuit current (Isc) X 1.56
Example:
Battery voltage is 12V, continuous power is 1500W, fuse between battery pack and inverter = (continuous power/battery voltage) x 1.56
Inverter power consumption = 1500/12 = 125A.
Circuit current carrying capacity = 125 x 1.56 = 195A, rounded to the next standard transaction size of 200A.
How to Design Your Solar Wiring Diagram?
Once you have calculated the size of the solar system you need, you need to connect the components. Before doing so, you can draw up a wiring diagram. Note: Grid-connected systems are not particularly DIY-friendly, we only recommend DIY installation for off-grid home and mobile systems!
Connecting solar panels
Solar panels are connected in two ways: in series and parallel. These connections determine whether the current or voltage of the device increases.
Series connection
the positive (+) terminal of one panel is connected to the negative (-) terminal of the next panel, and the current remains constant throughout the circuit as the voltage is added.

Advantages:
- Series connection reduces the current within the cables as the total current of the system is distributed over a higher voltage, thus reducing cable losses. This is a good option for long distances between panels and inverters.
- Cables are simpler and easier to organize and manage. They are easier to hide when connecting solar panels to other components of the solar system.
Disadvantages:
- Connecting solar panels in series increases the voltage and requires the use of an MPPT charge controller. This controller regulates the high voltage to match the voltage of the battery bank without causing power loss. However, MPPT controllers tend to be more expensive than PWM controllers.
- Unshaded conditions are best for series wiring because the output of the system is limited by the weakest panel in the series, and a single faulty or shaded panel can disrupt the entire circuit.
Parallel connection
Parallel connection means connecting the positive (+) to the positive (+) and the negative (-) to the negative (-) of the solar panels in such a way that the voltage on each panel remains constant as the current increases. Each solar panel works independently.

Advantages:
- A parallel connection makes it easier to expand the system because you can simply add more solar panels to the parallel circuit.
- If solar panels are susceptible to partial shading, such as from trees or buildings, parallel connection reduces the impact of shading from individual panels on the overall system.
Disadvantage:
The higher the current, the larger, more expensive, and less user-friendly the wiring becomes, and voltage drop can be a problem over long distances.
Series-Parallel Solar Panels
If you want to achieve a better balance between voltage and current, you can also connect panels in series and then connect them in series-parallel.

Connecting the battery packs
Batteries can also be connected in series or parallel:

Solar Panel to Battery Wiring Diagram
For example, a 12V solar system (in parallel):

If you are using a 24V battery bank and a 24V inverter, you will also need to step up the solar panel voltage to 24V: this can be done by connecting the 12V solar panel and batteries in series.

When wiring, the first component we usually choose to connect is the charge controller. Connect the charge controller to the solar panel, battery, and DC load respectively.
Note: If you're building a caravan or motorhome, there are several other components you may want to consider, which are often already built into the home or are unique to portable/vehicle solar. These components include:
- Fuse boxes
- Circuit breakers
- DP switches
- Charger (or inverter/charger combo)
- Battery isolators
- Battery Monitor
- Shunt
- Busbar
- Shore power plugs

