Inside this Article:
- Introduction
- I. Preparation
- 1. Determine the installation location and orientation
- 2. Evaluate the installation environment
- 3. Design the system program
- 4. Prepare the required tools and materials
- II. Installation Steps
- 1. Mounting bracket
- 2. Install the solar panel
- 3. Connect the cables
- 4. Install the battery and charger
- 5. Install the controller and inverter (if AC power is required)
- 6. System testing and commissioning
- III. Precautions
Introduction
An off-grid solar panel system is an independently operated power generation system that is not dependent on the external power grid. Installing off-grid solar panels not only reduces dependence on traditional energy sources, but also provides a reliable supply of electricity to remote areas. Before installation, we need to make adequate preparation to ensure the stability and power generation efficiency of the system.
The installation process of off-grid solar panels requires careful planning and preparation to ensure system stability and power generation efficiency. Below are the detailed steps for off-grid solar panel installation:
I. Preparation
1. Determine the installation location and orientation
- Select a sunny, unobstructed location, such as a roof or open field.- Use a compass to determine the due south direction (northern hemisphere) and make sure the solar panel faces due south to get the maximum amount of light.
2. Evaluate the installation environment
- Consider local meteorological conditions, such as sunlight hours and wind speed, to ensure that the installation environment is suitable for solar panels.- Check the load-bearing capacity of the ground or roof to ensure that it can support the weight of the solar panels and their supports.
3. Design the system program
- According to the installation location and available area, design a suitable PV system program, including the number, size, and tilt angle of the solar panels.- Determine the output voltage and current requirements of the system, as well as the capacity of the required energy storage equipment (e.g., batteries).
4. Prepare the required tools and materials
- Tools: screwdrivers, wrenches, electric drills, measuring tools (e.g., tape measure, level, angle ruler), etc.- Materials: solar panels, brackets, screws, cables, connectors, insulating tape, batteries, chargers, controllers, etc.
II. Installation Steps
1. Mounting bracket
- Determine the mounting position and quantity of the bracket according to the design program.- Use screws to fix the bracket on the ground or roof, make sure the bracket is perpendicular and level with the ground or roof surface.
- Pay attention to the load-bearing capacity and stability of the brackets to ensure that they can support the weight of the solar panels and the wind.
2. Install the solar panel
- Place the solar panel on the bracket, making sure the edges are aligned.- Use screws to secure the solar panel to the bracket, taking care not to over-tighten the screws.
- Check the mounting angle and tilt of the solar panel to ensure that it meets the requirements of the design program.
3. Connect the cables
- Connect the positive and negative cables of the solar panels together through connectors to form a PV array.- Ensure that the cables are firmly connected and use insulating tape to wrap the exposed parts to prevent short-circuit or electric shock.
- Connect the output cables of the PV array to the battery or charger according to the design scheme.
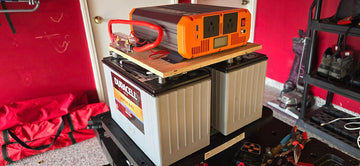
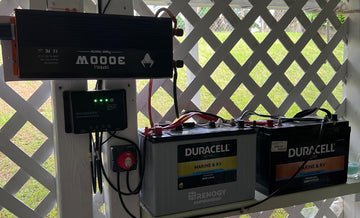
4. Install the battery and charger
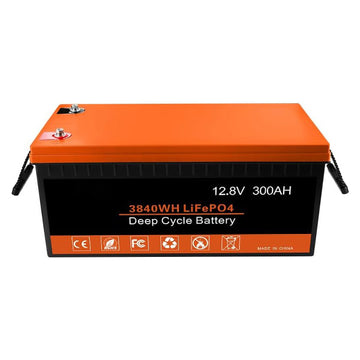
- Place the battery in a suitable location, ensure good ventilation and avoid direct sunlight.- Connect the battery to the charger using cables, making sure that the connections are correct and secure.
- Set the appropriate charging parameters according to the capacity of the battery and the power of the charger.
5. Install the controller and inverter (if AC power is required)
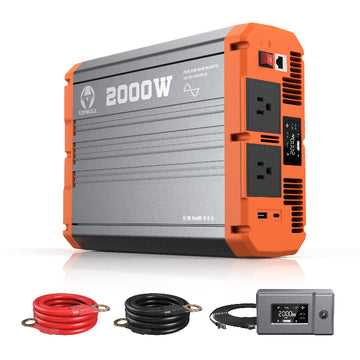
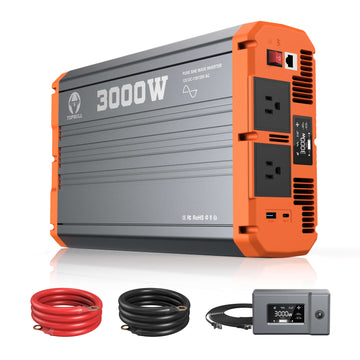
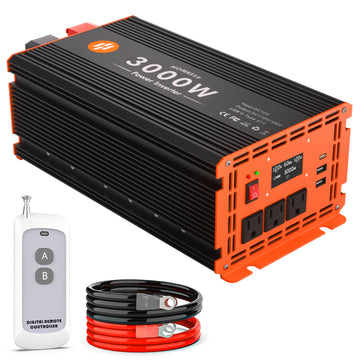
- Install the controller in a suitable location for monitoring and managing the operating status of the PV system.- If DC power needs to be converted to AC power for home or equipment use, an inverter needs to be installed.
- Connect the input cable of the inverter to the battery and the output cable to the equipment that needs to be powered.
6. System testing and commissioning
- After completing the installation, carry out thorough testing and commissioning of the system.- Check whether the output voltage and current of the solar panel are normal.
- Check whether the charging and discharging status of the battery is normal.
- Ensure the stability and safety of the system and record relevant data for subsequent maintenance and optimization.
III. Precautions
1. Safety first
- During installation, be sure to observe safety regulations and wear protective equipment.- Avoid installation work under bad weather conditions.
2. Accurate measurement
- Use measuring tools to carry out accurate measurements to ensure that the mounting positions and angles of brackets, solar panels and other components are in accordance with design requirements.3. check quality
- Inspect materials such as solar panels, brackets, cables, etc. to ensure reliable quality.4. follow the specification
- Follow relevant installation codes and standards to ensure installation quality and safety.5. Maintenance
- Regularly clean and maintain the solar panels to keep them in good working condition and power generation efficiency.- Regularly check the charging and discharging status of the batteries, as well as the operating status of the inverter and controller.
By following the above steps and precautions, you can successfully install an off-grid solar panel system and start enjoying the clean energy brought by solar energy.

