Installing RV solar panels is the best way to achieve energy independence from the grid. Instead of constantly searching for a charging station, you'll spend more time on the road. Your motorhome is driven or parked during the day and the solar panels absorb the sunlight. The solar energy is converted into electricity and the current is sent through wires to a charge controller that controls the battery current, which is then stored in the battery. The solar panels and batteries produce a direct current, usually 12V, which directly powers the lights and electronics inside the caravan. You can also convert this to 120V AC (RV outlet) using an inverter to power 120V appliances.
This process is not difficult to achieve. This guide explains what you need to know about the components of an off-grid solar system (solar panels, inverters, charge controllers, batteries, etc.) and how to install solar panels for RVs.
How many solar panels are needed to run an RV?
The number and size of solar panels required for an RV is determined by two factors. Firstly, you need to work out the electrical requirements of your RV. Secondly, find out how much energy your solar panels will provide to your RV battery.
Power consumption calculation
The first step is to determine the energy needs of the RV. You need to know what appliances you want to power and how much energy they use daily. Make a list of the electrical appliances in the RV, such as lights, fridge, radio, microwave, etc. Look up the power rating (W) on the appliance, or if the appliance is only rated in amps, multiply this by the voltage rating to get watts.
Once you know the wattage of each appliance, work out how many hours a day you use it, then multiply that by the 'usage rate' to get its watt-hours. It's always best to overestimate the amount of time you spend using each device.
For example, if a coffee maker with a rated power of 100W is used for 0.2h per day, the coffee maker will consume daily electricity:
100W x 0.2h = 20Wh = 0.02kWh
Adding up the watt-hours consumed by these appliances gives the daily energy requirement of the caravan.
Calculate the energy production of solar panels.
Under certain conditions, a 100W solar panel will typically produce about 350 Wh of electricity per day. This estimate will vary depending on the season and geographical location.
To store all the electricity generated by your solar panel, you will need sufficient battery capacity. A 100Ah, 12V battery can hold approximately 1,200Wh of electricity. If you need a 24V battery, you will also need 24V solar panels. When connecting solar panels, you have the option of connecting them in series or parallel. In series, the voltages are added together and the current remains the same. In parallel, the amperage is added and the voltage remains constant. If your array is large, with eight or more panels, you can install a combination of series and parallel connections.
In the best-case scenario, the solar panels can achieve the desired energy output. In this case, the sun is shining directly on the solar panels, producing maximum energy output. However, full sunlight is not the norm. If it is raining or in the shade, the energy output will decrease.
Of course, there are other factors to consider when choosing solar panels. Higher-quality panels will give you more power and efficiency, which means you will need fewer panels. Keep this in mind if you have limited space. If you are on a budget, lower power modules cost less but require more solar panels.
RV solar system components
RV solar systems contain various components in addition to the solar panels.

RV battery
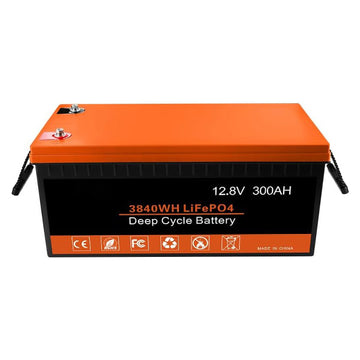
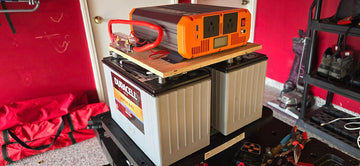
The battery pack is the heart of the caravan's solar system, storing the electricity generated by the solar panels for subsequent use. When choosing a battery, you should opt for lithium batteries over lead-acid batteries.
Read about the difference between lithium batteries and lead-acid batteries.
RV charge controller
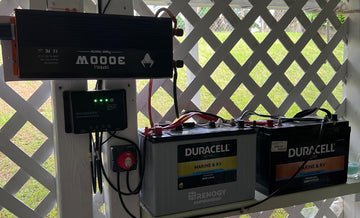
The charge controller is mounted inside the caravan. An electric cable runs from the solar panel to the charge controller and from the charge controller to the battery pack. The charge regulator determines the rate at which the batteries are charged and prevents overcharging.
RV power inverter
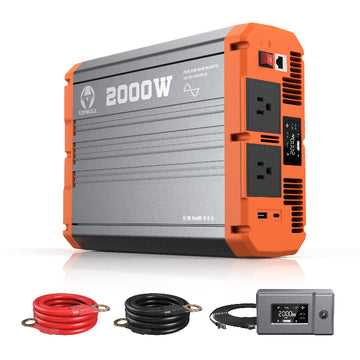
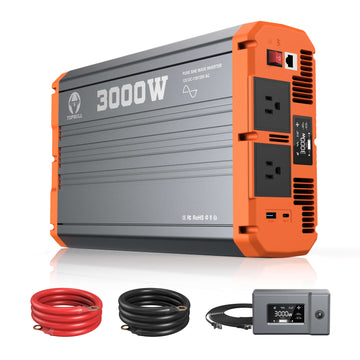
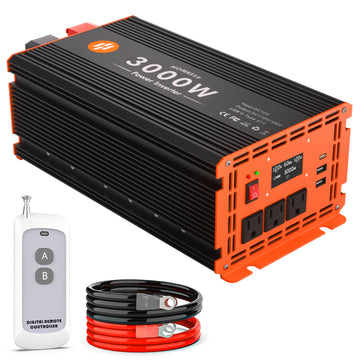
The energy produced by the RV battery is 12V DC. 12V DC powers 12V devices, appliances, and the RV's cigarette lighter socket. If you want to use 120V AC to power a coffee maker, laptop, Instapot, or any other device that requires AC power, you will need an inverter to convert 12V DC to 120V AC.
The inverter should be mounted in the motorhome as close to the battery pack as possible, and appliances and devices that use AC power will run on the inverter's power (converted from DC to AC).
Best RV solar panel kit

Now that you have sized your system, you can purchase the ideal RV solar panel kit. We offer a wide range of solar panels from 100W to 1200W to suit your energy needs.
Solar panels for RV roof: installation steps
Solar panels are usually fixed to the RV roof with screws or adhesives. The method of fixing depends not only on your preference but also on the type of panel you choose, the shape of the RV roof, and its material. Flexible solar panels are usually more suitable for adhesive mounting, while rigid solar panels are more suitable for screw mounting.
-
Fixed Z-brackets: Fixed mounting systems are designed for rigid solar panels and usually require drilling holes in the caravan roof, but adhesives can be used.

-
Tilting mount: You don't need to fix the solar panels in a flat position and can easily adjust the angle of the panels. This mounting system improves light absorption and therefore produces more power. Drilling is usually required.

-
Flexible installation: The flexible (thin-film) solar panels can be molded to the shape of the caravan, making them easy to install on the roof of any caravan. You will use adhesive tape to secure the panels. However, you may need to drill holes in the roof to feed the cables into the caravan, but only one hole is needed for this installation.

-
Corner brackets: do not require drilling and do not allow the angle of the panel to be adjusted. Suitable for any panel with an aluminum frame.

It is best to leave a 6' gap between the panel and the roof. This is because the panels get hot in the sun, which can reduce their efficiency. Allowing air to circulate underneath reduces the temperature of the panels and reduces the risk of water pooling.
These are some common mounting methods, you can make your brackets and mounting frames. Note that you should put some sealant under each bracket to prevent water from entering your caravan. If you don't want to damage the roof of your caravan, you can also drill holes in the sides of the solar panels to allow the cables to pass through.
Video guide
Connecting RV batteries to solar panels
Charge controller installed in RV
The charge controller is an important part of protecting the battery during the charging process and can also monitor the status of the solar panels during installation. Choose a well-ventilated, dry, easy-to-inspect location for the charge controller, usually inside a wall or cabinet, close to the battery.
Note: Do not connect the solar panel directly to the RV battery. The controller must be connected to the battery first. The solar panel is the last to be connected to the system during installation.
Connect the controller to the battery.
The red wire is connected from the positive terminal of the controller to the positive terminal of the battery, and the black wire is connected from the negative cable to the negative terminal of the battery. If both wires are the same color, use red Velcro tape to mark the positive wire.
These wires should be fitted with a fuse or circuit breaker slightly larger than the current rating of the controller.
Inverter installation
However, if you wish to use AC power, you will need to install an inverter inside the RV, as close to the battery as possible.
Locate the DC input port of the inverter and connect the positive and negative terminals to the positive and negative terminals of the battery. Then connect the AC output port of the inverter to a wall socket, etc. in the RV. Connect the earth cable of the inverter to the grounding system of the RV to ensure that the inverter is safely grounded.
Connecting RV solar panel to controller
The system is fully installed but the RV solar panel has not been connected to the charge controller. It is important to double-check all wiring to ensure correct polarity (both positive and negative) before making final connections.
How do I connect the solar cable on the RV roof to the interior? There are several ways to connect the wiring:
- The cable goes through the fridge vent and connects the solar panel to the charge controller. This is the most common method.
- If there is no fridge vent, try to find another hole in the roof that you have previously punched.
- If not, you can drill new holes in the roof or side of the vehicle. Make sure you can easily access these holes from inside the RV.
Once the wiring is in place, add some sealant to prevent leaks. A fuse is required between the solar panel and the controller to protect the circuitry.

